Immich Deployment on Windows Server Using Docker, WSL, and SMB-Based Persistent Storage
Designing a Resilient Linux Application Stack on Windows Infrastructure.

Introduction.
Self-hosting applications on Windows servers can be deceptively complex when persistence, security, and reliability are required. This becomes especially true when deploying Linux-first platforms such as Immich in a domain-managed environment.
In this article, I document how I deployed Immich on a Windows Server using Docker Desktop and WSL, with media stored on a network file server and the database configured for long-term persistence.
The goal was simple: ensure the service survives reboots, upgrades, and redeployment without losing data.
What Is Immich?
Immich is an open source, self hosted photo and video management platform designed as a privacy focused alternative to services such as Google Photos.
It consists of multiple containerised services, including a web interface, machine learning components, PostgreSQL for metadata storage, and a Redis compatible cache. It is designed primarily for Linux based container environments.

Project Objectives.
Before starting, the deployment had several clear goals:
Host Immich on a Windows Server platform.
Use Docker containers for portability.
Store uploaded media on a central file server.
Prevent database resets after reboots.
Allow redeployment on another endpoint.
Support both LAN and secure WAN access.
Maintain security and domain integration.
Most importantly, the solution had to be repeatable.
Platform Overview.
Host System:
Windows Server (Application Server).
Joined to Active Directory (AD) domain.
Docker Desktop installed.
WSL2 enabled with Ubuntu.
Supporting Infrastructure.
Domain Controller.
Central File Server (SMB share).
Internal LAN network.
Cloudflare Zero Trust Tunnel for remote access.
Software Stack.
Docker Desktop (WSL backend).
Ubuntu 22.04 (WSL2).
Immich (Docker containers).
PostgreSQL (containerised).
Redis compatible cache.
Cloudflare Tunnel.
Prerequisites.
Ubuntu 22.04.5 LTS, or another WSL distro.
Nested virtualisation support (If you're using Hyper-V like me).
Set-VMProcessor -VMName <VMName> -ExposeVirtualizationExtensions $true
Recommended system resources:
Memory: Minimum 6GB, recommended 8GB.
Processor: Minimum 2 cores, recommended 4 cores.
Storage: Recommended Unix-compatible filesystem (EXT4, XFS, ZFS, etc.) with support for user/group ownership and permissions.
Why WSL and Docker Desktop.
Immich is designed for Linux. Rather than running it inside a traditional VM, Docker Desktop with WSL2 offers:
A native Linux kernel.
Direct container integration.
Simplified networking.
Reduced resource overhead.
With WSL integration enabled, Docker runs its engine inside Linux while remaining manageable from Windows.
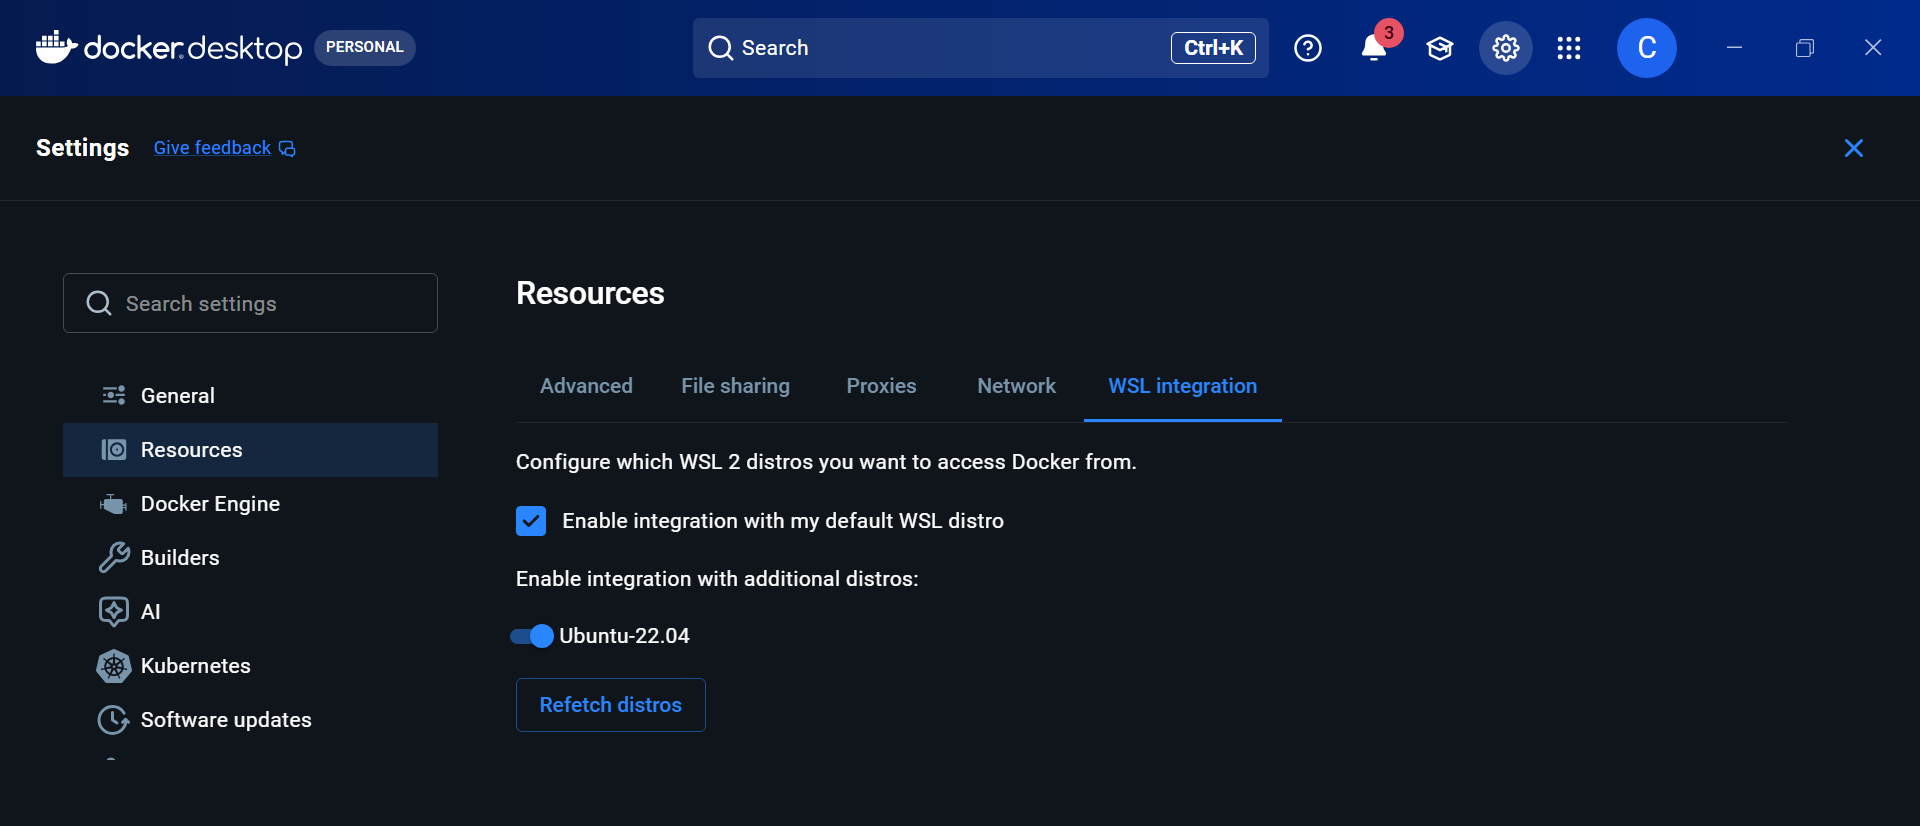
Once enabled, Docker commands are available inside Ubuntu, confirming WSL can communicate with the Docker engine:
docker version
Preparing Network Storage.
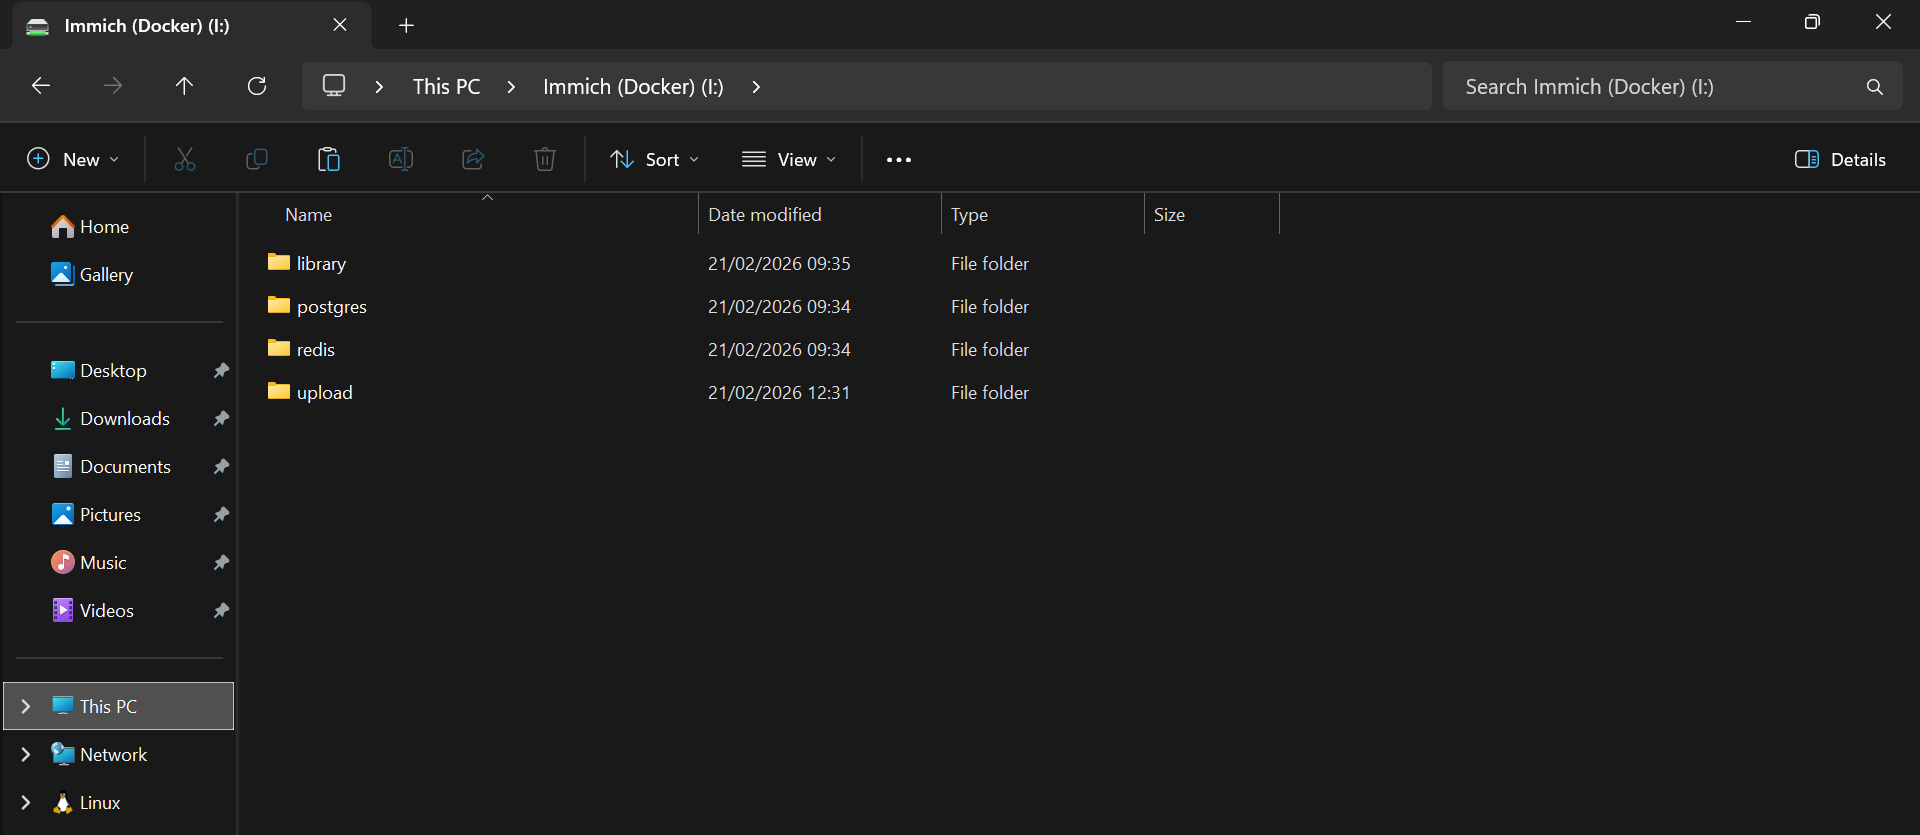
To ensure data persistence, a shared folder was created on a file server:
\\FileServer\Immich
With subfolders:
library
upload
postgres
redis
SMB and NTFS permissions were restricted to authorised domain users, following least privilege principles.
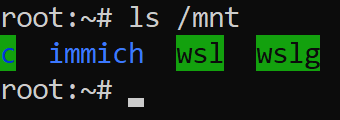
Mounting The File Share In WSL.
Windows drive mappings do not appear inside WSL, as Linux requires its own SMB mount.
A directory was created to act as the mount target:
sudo mkdir -p /mnt/immich
At this stage, nothing is mounted. It is just an empty directory waiting to have something attached to it.
SMB mounting requires CIFS utilities as WSL doesn't include them by default:
sudo apt update
sudo apt install -y cifs-utils
With the mount point ready, I'll try mounting the share directly using my domain credentials:
sudo mount -t cifs //FileServer/Immich /mnt/immich \
-o username=DOMAIN\\ADUsername,vers=3.0,uid=1000,gid=1000
It failed instantly:
mount error(13): Permission denied
That error is vague, and does not tell you whether it is networking, DNS, firewall, or authentication.
So I'll check the kernel logs:
dmesg | tail -n 30
STATUS_LOGON_FAILURE
This tells us everything. The share is reachable, and the server responded, but authentication failed.
The problem is how the credentials are being passed. The corrected format is:
sudo mount -t cifs //FileServer/Immich /mnt/immich \
-o user=username,domain=ADDomain,vers=3.0,uid=1000,gid=1000,dir_mode=0770,file_mode=0660
Instead of embedding the domain in the username string, I'll split them properly.
user=instead ofusername=DOMAIN\user.
domain=ADDomainpassed separately.
Verification:
ls -la /mnt/immich
And the expected folders were there.
Securing Credentials.
Rather than embedding Active Directory account credentials in scripts, I'll create a protected credentials file:
sudo nano /etc/cifs-immich.creds
Contents:
username=ADUsername
password=ADPassword
You don't need to put DOMAIN\ before the username, as we'll pass the domain separately in the mount options. It can work, but it's easy to mess up in Linux because backslashes are escape characters in some contexts... Also if the file is created with a heredoc or printf with the wrong quoting, you can end up with invisible characters that break auth. The kernel then returns a logon failure.
Permissions are restricted to ensure only root could read the file:
sudo chmod 600 /etc/cifs-immich.creds
sudo chown root:root /etc/cifs-immich.creds
Automounting the Share.
/etc/fstab is a plain text configuration that defines which disks and network shares Linux mounts automatically at startup. Adding the SMB share here ensures it is reconnected every time WSL starts, without requiring manual intervention.
In WSL2 environments, fstab processing is controlled by /etc/wsl.conf. If automounting is disabled, the file exists but is ignored.
In my case, only systemd needed to be enabled and fstab entries were processed automatically. However, if mounts do not persist, explicitly enabling automounting resolves most issues:
sudo nano /etc/wsl.conf
Example:
[boot]
systemd=true

[automount]
enabled = true
mountFsTab = true
To configure automatic mounting, edit /etc/fstab:
sudo nano /etc/fstab
Entry:
//FileServer/Immich /mnt/immich cifs credentials=/etc/cifs-immich.creds,domain=ADDomainName,vers=3.0,uid=1000,gid=1000,dir_mode=0770,file_mode=0660,nofail 0 0
The
nofailoption prevents boot delays if the file server is temporarily unavailable.
Verify the configuration:
sudo mount -a
mount | grep immich
Expected output:
//FileServer/Immich on /mnt/immich type cifs (...)
By adding the SMB share to this file, the network storage is reconnected after every reboot, ensuring Docker and Immich always have access to persistent data.
Creating The Immich Project.
I'll create a dedicated project directory called immich:
mkdir -p ~/immich
cd ~/immich
Environment File.
The .env file defines storage and credentials:
UPLOAD_LOCATION=/mnt/immich/upload
DB_DATA_LOCATION=DBLocation
TZ=Europe/London
IMMICH_VERSION=v2
DB_PASSWORD=StrongPassword
DB_USERNAME=DBUsername
DB_DATABASE_NAME=immich
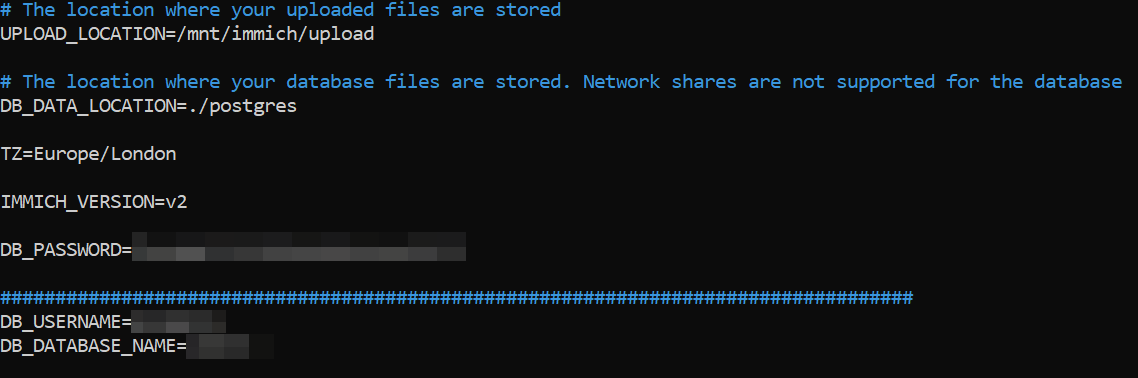
Key design decision:
Media on SMB.
Database stored locally in WSL.
PostgreSQL data directories should not be hosted on SMB shares. Network file systems introduce latency, unreliable file locking semantics, and caching behaviour that can cause corruption and transaction failures. Storing the database locally ensures correct POSIX locking and preserves data integrity.
A local database folder was created:
mkdir -p ~/immich/postgres
Docker Compose Configuration.
The official Immich compose file was used with volume overrides, binding persistent storage into containers:
- ${DB_DATA_LOCATION}:/var/lib/postgresql/data
- ${UPLOAD_LOCATION}:/usr/src/app/upload
Each service is configured with a restart policy:
restart: always
In a Docker compose file, this tells the Docker daemon to automatically restart that container if it exits or crashes, and to bring it back up after the Docker service starts (for example after a host reboot). The main exception is if you manually stop the container, in which case it stays stopped until you start it again.
Deploying The Stack.
Containers are pulled and started:
docker compose pull
docker compose up -d
docker compose ps
All services report healthy status:

Resolving Docker Credential Issues.
When pulling images, Docker failed with:
docker-credential-desktop.exe: exec format error
This occurs because WSL is attempting to use Windows credential helpers, so I'll remove them, forcing Docker to operate without incompatible helpers:
nano ~/.docker/config.json
Replace the contents with (or leave as blank):
{
  "auths": {}
}
Verifying Persistence.
The most important step is confirming that the database was not ephemeral.
Inside the Postgres container, run:
docker exec immich_postgres ls /var/lib/postgresql/data
The presence of PG_VERSION confirms initialisation.
Mount verification:
mount | grep /mnt/immich
Mount inspection:
docker inspect immich_postgres
This shows that the data directory is bound to persistent storage.
Networking and Access.
Docker publishes port 2283 to the host:
0.0.0.0:2283 → 2283
Let's create a Windows TCP port forwarding rule using the built in IP Helper service.
Retrieve the WSL instance IP address:
wsl hostname -I
$winIp = "<WINDOWS_SERVER_IP>"
$wslIp = "<WSL_IP>"

netsh interface portproxy add v4tov4 listenaddress=\(winIp listenport=2283 connectaddress=\)wslIp connectport=2283
Portproxy rules are stored in the registry under:
HKLM\SYSTEM\CurrentControlSet\Services\PortProxy\v4tov4\tcp
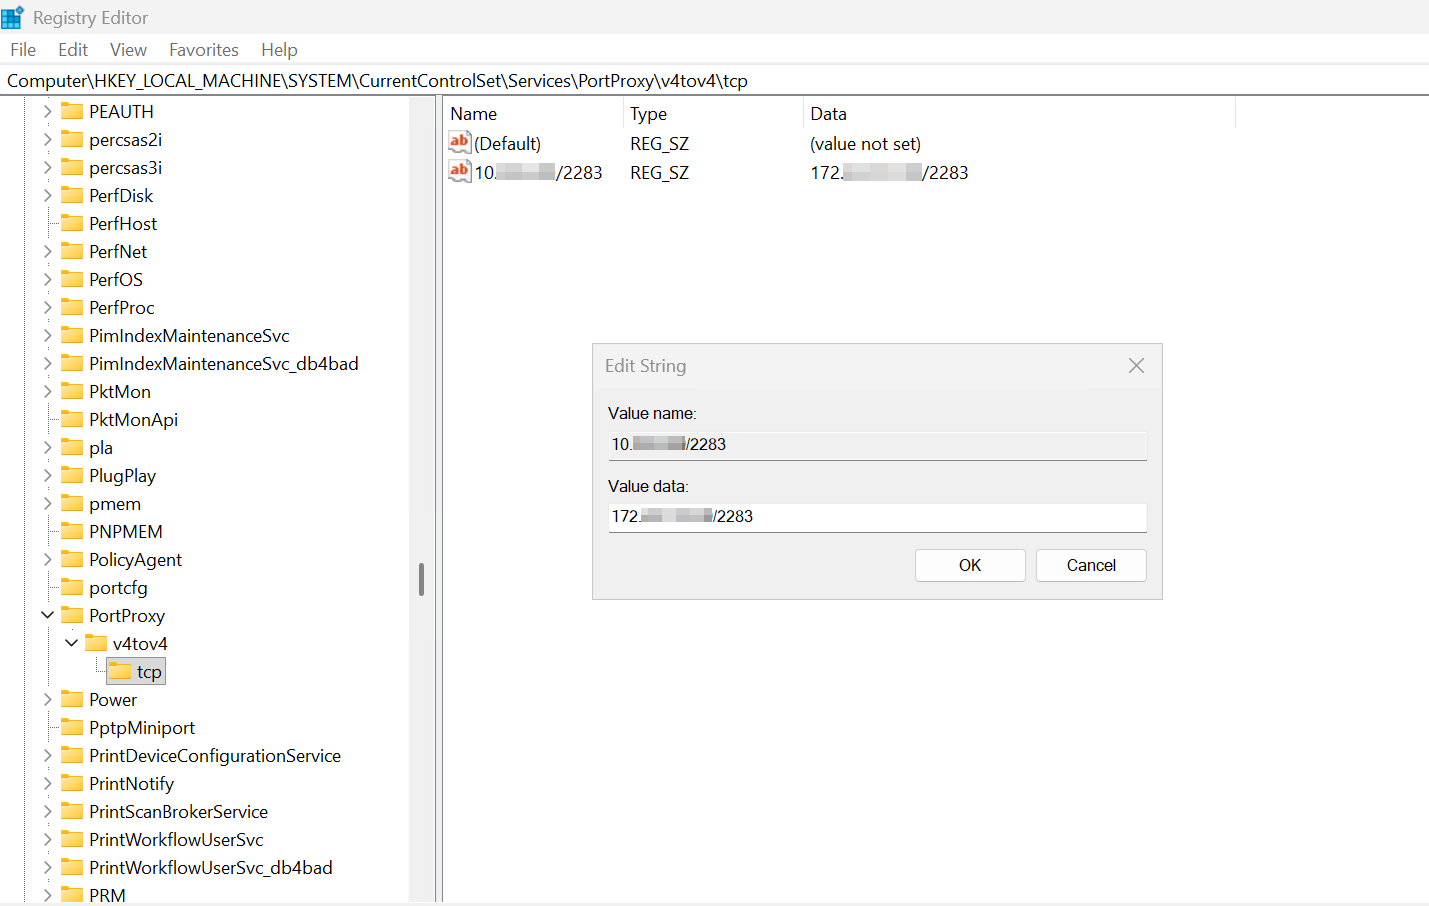
We can also confirm that this rule is present with:
C:\Windows\System32>netsh interface portproxy show all

Listen on ipv4:             Connect to ipv4:

Address         Port        Address         Port
--------------- ----------  --------------- ----------
10.0.0.XXX      2283        172.XX.XXX.XX   2283
I now need to create a Windows firewall rule to allow TCP port 2283, which can be achieved with the following PowerShell command:
New-NetFirewallRule -DisplayName "Immich TCP 2283"
-Direction Inbound -Protocol TCP -LocalPort 2283 -Action Allow
We can also use the following command to see if netstat shows a listener on 10.0.0.<your-server-ip>:2283 or 0.0.0.0:2283, to see if anything is exposed to the LAN.
Test-NetConnection -ComputerName 10.0.0.X -Port 2283
netstat -ano | findstr :2283
PS C:\WINDOWS\system32> Test-NetConnection -ComputerName 10.0.0.0 -Port 2283

ComputerName     : 10.0.0.0
RemoteAddress    : 10.0.0.0
RemotePort       : 2283
InterfaceAlias   : Ethernet 3
SourceAddress    : 10.0.0.0
TcpTestSucceeded : True

PS C:\WINDOWS\system32> netstat -ano | findstr :2283
  TCP    0.0.0.0:2283           0.0.0.0:0              LISTENING       12276
  TCP    10.0.0.0:53504         10.0.0.0:2283          TIME_WAIT       0
  TCP    10.0.0.0:60657         10.0.0.0:2283          TIME_WAIT       0
  TCP    [::]:2283              [::]:0                 LISTENING       12276
  TCP    [::1]:2283             [::]:0                 LISTENING       4672
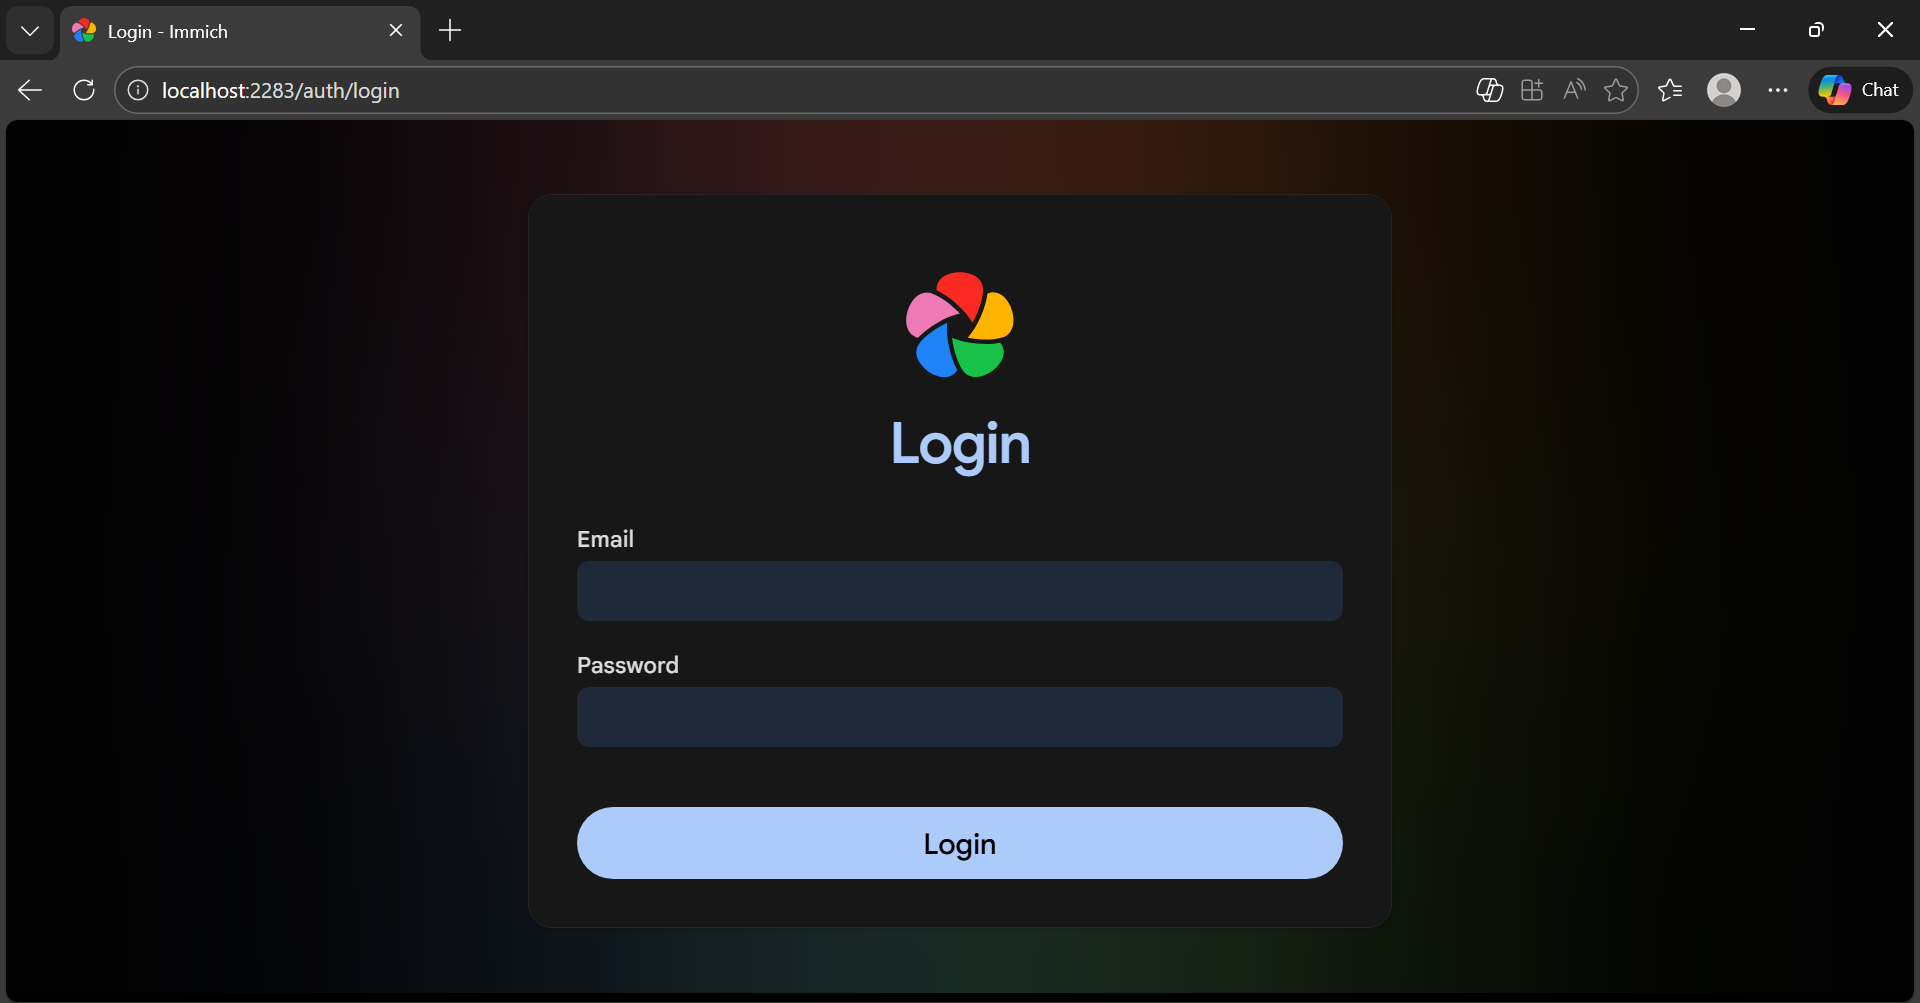
Immich then becomes accessible on:
http://server-ip:2283
WSL Networking Architecture.
WSL operates behind a Hyper-V NAT interface:
Internal subnet: 172.x.x.x.
Host bridges traffic.
Docker Desktop handles forwarding.
In this deployment, manual portproxy rules were required because Docker Desktop was not exposing container ports directly to the Windows host network.
Although the server was configured with only a single Hyper-V virtual network adapter connected to the external vSwitch, the system presents multiple logical network interfaces once WSL and Docker Desktop are installed.
From a Hyper-V perspective, the virtual machine has one primary adapter attached to the external switch, which provides normal LAN connectivity. This adapter is assigned an address via DHCP from the gateway, and handles domain access, DNS resolution, internet access, and communication with other servers on the network.
Alongside this, a second virtual adapter appears:
vEthernet (WSL (Hyper-V firewall)) with an address in the 172.28.128.0/20 range.
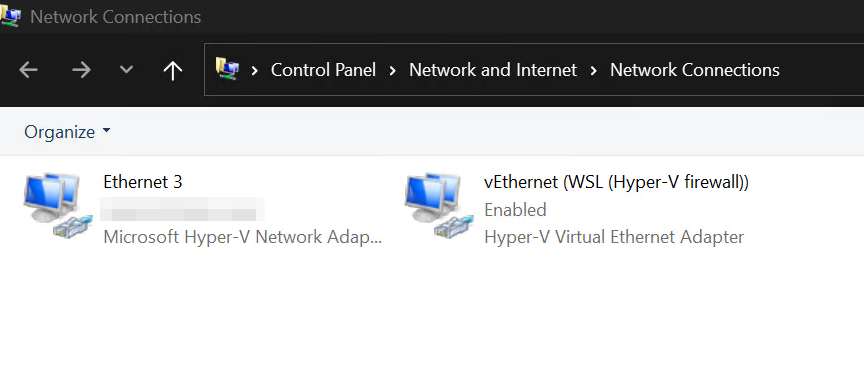
This adapter is not connected to the external vSwitch and is not manually created. It is automatically generated by WSL2 when the Linux subsystem is enabled. Internally, WSL runs inside a lightweight Hyper-V virtual machine. To allow Windows and Linux to communicate, Hyper-V creates a private NAT network between the host and the WSL VM.
This network operates as follows:
WSL runs on an isolated internal subnet, typically in the 172.x.x.x private address range.
Windows acts as the gateway and NAT device for this subnet.
Traffic from WSL is translated and forwarded through the main 10.0.0.0/24 interface.
Inbound traffic must be explicitly forwarded.
The 172.28.128.1 address therefore belongs to the Windows host side of the WSL virtual switch. The Linux environment sits behind it on the same subnet. This is why no default gateway is shown on that interface. It is not intended for external routing.
Importantly, this network is created and managed entirely by WSL and Hyper-V. It does not appear as a separate vSwitch in Hyper-V Manager because it is implemented as an internal virtual switch owned by the WSL platform.
Docker Desktop builds on top of this architecture. Containers run inside the WSL VM and inherit this private NAT network. As a result, container services are bound to the 172.x.x.x subnet by default, not directly to the server’s 10.0.0.0/24 interface.
In theory, Docker Desktop should automatically publish container ports to the Windows host and forward them to the external network. In practice, this forwarding was unreliable in this environment. Services were reachable from inside WSL but not consistently accessible from the LAN.
Because of this, manual portproxy rules were implemented on Windows to bridge traffic between the external interface and the WSL subnet. These rules explicitly forward connections from 10.0.0.XX to the relevant 172.28.x.x container addresses.
This design means that, despite appearing to have multiple “network adapters”, the system is still built around a single physical path to the network. The 10.0.0.0/24 adapter provides real connectivity, while the 172.28.0.0/20 adapter exists purely to support WSL and container isolation.
Understanding this separation was essential when diagnosing connectivity issues, firewall behaviour, and port publishing failures during deployment.
Secure WAN Access with Cloudflare Tunnel & Conditional Access.
For remote access, a Cloudflare Zero Trust Tunnel was optionally configured.
High-level architecture:
Internet → Cloudflare → Tunnel → App Server → Immich
Advantages:
No open inbound ports.
Zero Trust Authentication).
TLS encryption.
Single Sign-On (SSO).
DDoS protection.
This provided secure external access without exposing the server.
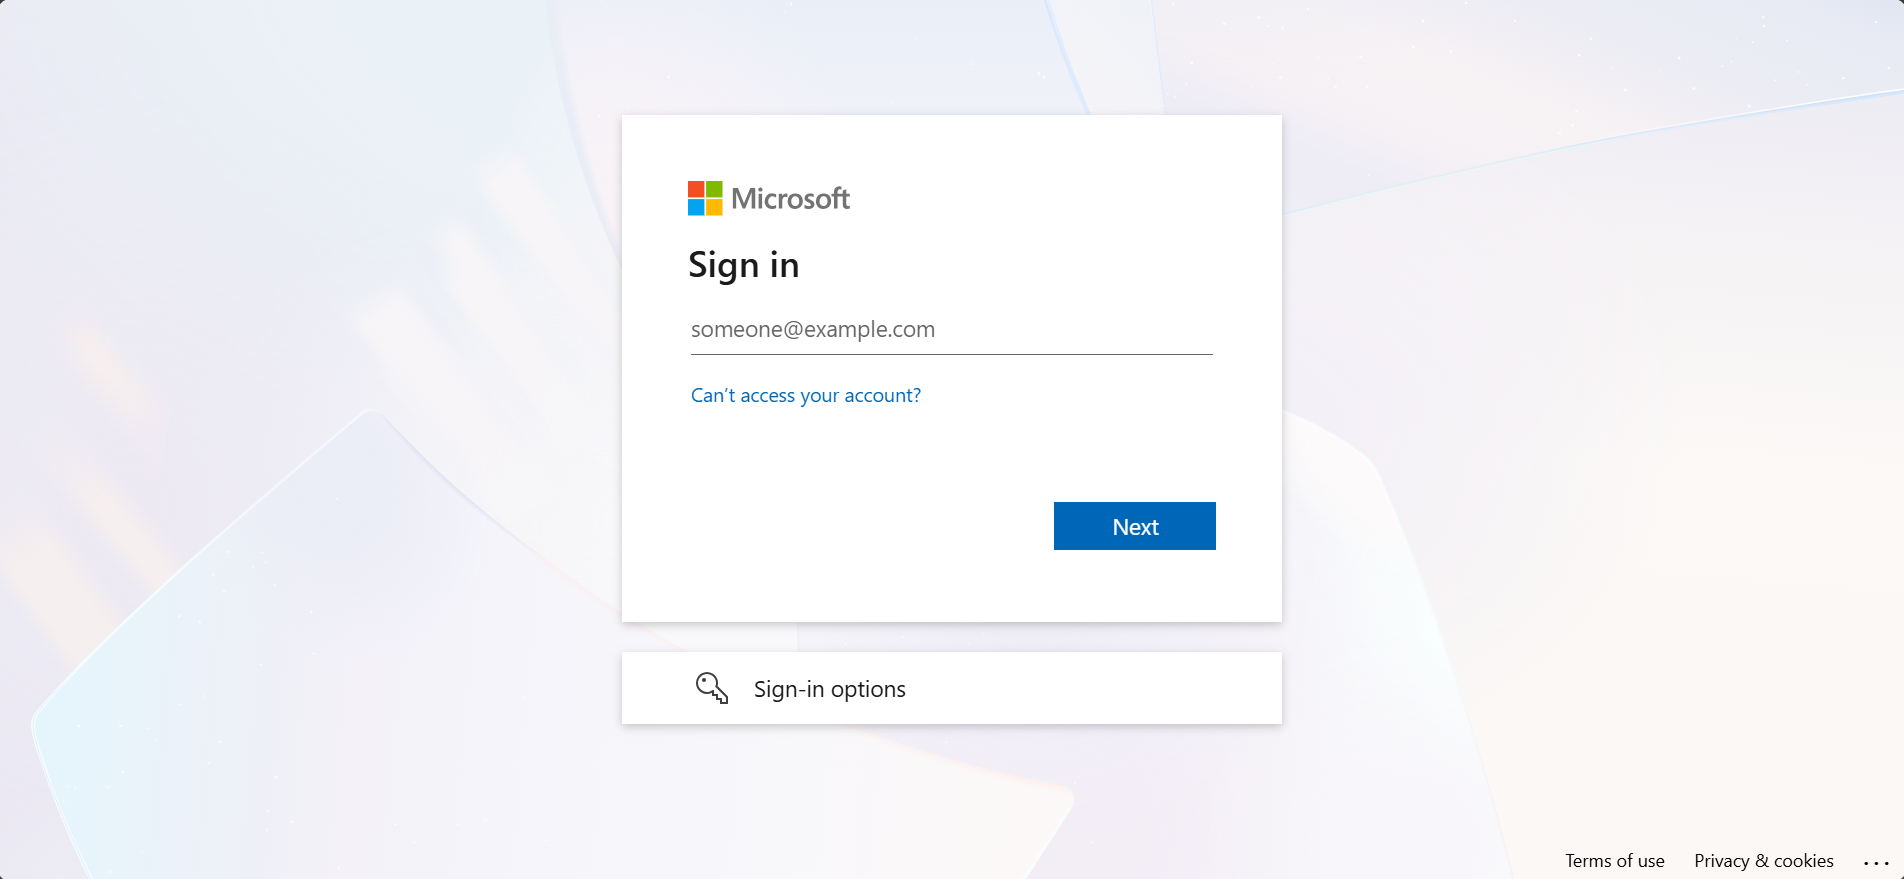
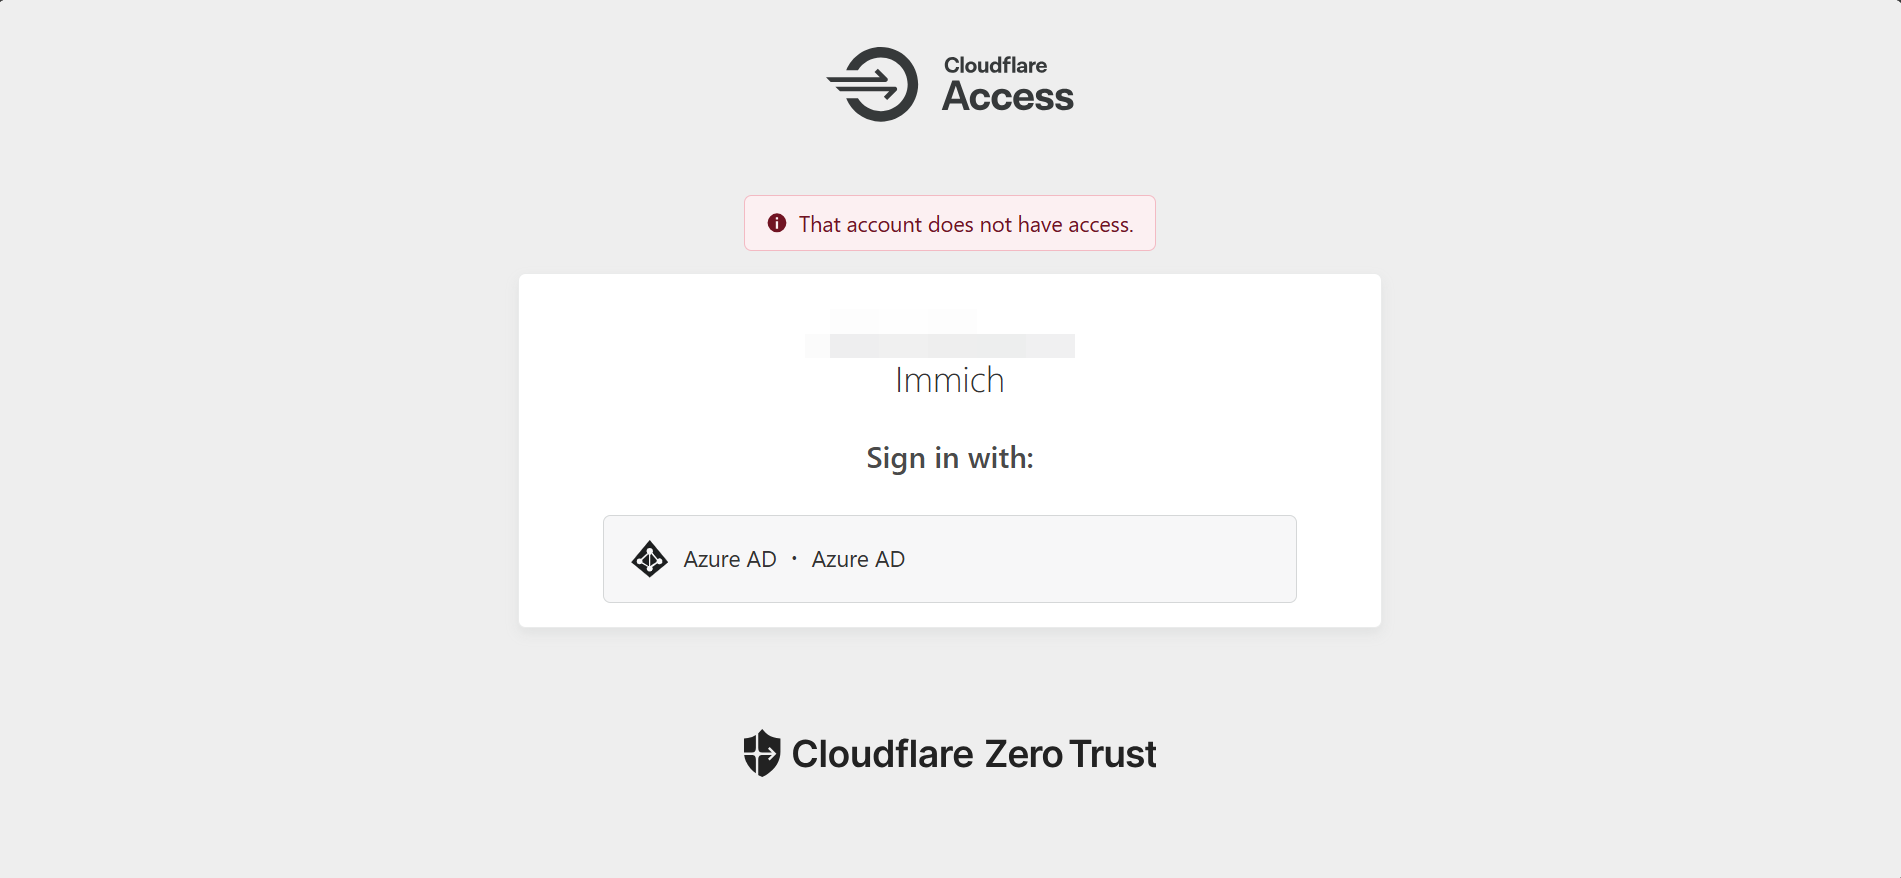
We can also create Conditional Access policies to govern access to Cloudflare's Zero Trust Network, such as enforce compliance requirements, set browser controls and sign-in frequency or token persistence, and block access based on signals during sign-in.
Best Practices Applied.
Security.
Domain authentication.
Restricted SMB permissions.
Encrypted credentials.
No anonymous access.
Firewall hardening.
Reliability.
Local database storage.
Automatic restarts.
Persistent mounts.
Health checks.
Maintainability.
Versioned configuration.
Centralised storage.
Reproducible structure.
Documented procedures.
Known Limitations.
Despite the success, several limitations remain:
WSL mounts depend on network availability.
Docker Desktop is a dependency.
In a production environment, you would install docker in a Linux VM directly, rather than use Docker Desktop.
Postgres backups are manual by default.
Requires domain connectivity.
SMB latency can affect performance.
These are acceptable trade-offs in my environment :)
Backup Strategy.
A simple database backup:
docker exec immich_postgres pg_dump -U postgres immich > /mnt/immich/backups/db.sql
Restore example:
docker exec -i immich_postgres psql -U postgres immich < /mnt/immich/backups/db.sql
Verify backup integrity:
ls -lh /mnt/immich/backups/db.sql
Media is already stored on the file server.
Backups can be automated with cron.
Verification Commands.
These commands can be used at any time to validate the deployment.
Mount status:
mount | grep immich
Credentials:
sudo ls -l /etc/cifs-immich.creds
fstab:
grep immich /etc/fstab
Containers:
docker compose ps
Database integrity:
docker exec immich_postgres test -f /var/lib/postgresql/data/PG_VERSION && echo OK
Firewall:
Get-NetFirewallRule | Where DisplayName -Like "*Immich*"
Failover Testing.
To validate resilience, the following failure scenarios should be tested:
- Restart WSL:
wsl --shutdown
- Restart Docker:
Restart-Service com.docker.service
Reboot the host server.
Post recovery validation:
docker compose ps
mount | grep immich
All services and mounts should reinitialise automatically.
Conclusion.
This deployment demonstrates that it is entirely possible to run a reliable, persistent, Linux-first application on Windows Server using Docker and WSL.
By combining:
Domain authentication.
SMB-backed media storage.
Localised database persistence.
Container orchestration.
Secure networking.
It is possible to achieve an enterprise-grade deployment using largely open-source tooling.
The key lesson is that persistence is not automatic. It must be deliberately designed. Once storage, authentication, and mounts are correct, containers become highly resilient and portable.
This approach provides a strong foundation for self-hosted services in mixed Windows and Linux environments.
docker-compose.yml
#
# WARNING: To install Immich, follow our guide: https://docs.immich.app/install/docker-compose
#
# Make sure to use the docker-compose.yml of the current release:
#
# https://github.com/immich-app/immich/releases/latest/download/docker-compose.yml
#
# The compose file on main may not be compatible with the latest release.

name: immich

services:
  immich-server:
    container_name: immich_server
    image: ghcr.io/immich-app/immich-server:${IMMICH_VERSION:-release}
    # extends:
    #   file: hwaccel.transcoding.yml
    #   service: cpu # set to one of [nvenc, quicksync, rkmpp, vaapi, vaapi-wsl] for accelerated transcoding
    volumes:
      # Do not edit the next line. If you want to change the media storage location on your system, edit the value of UPLOAD_LOCATION in the .env file
      - ${UPLOAD_LOCATION}:/data
      - /etc/localtime:/etc/localtime:ro
    env_file:
      - .env
    ports:
      - '2283:2283'
    depends_on:
      - redis
      - database
    restart: always
    healthcheck:
      disable: false

  immich-machine-learning:
    container_name: immich_machine_learning
    # For hardware acceleration, add one of -[armnn, cuda, rocm, openvino, rknn] to the image tag.
    # Example tag: ${IMMICH_VERSION:-release}-cuda
    image: ghcr.io/immich-app/immich-machine-learning:${IMMICH_VERSION:-release}
    # extends: # uncomment this section for hardware acceleration - see https://docs.immich.app/features/ml-hardware-acceleration
    #   file: hwaccel.ml.yml
    #   service: cpu # set to one of [armnn, cuda, rocm, openvino, openvino-wsl, rknn] for accelerated inference - use the `-wsl` version for WSL2 where applicable
    volumes:
      - model-cache:/cache
    env_file:
      - .env
    restart: always
    healthcheck:
      disable: false

  redis:
    container_name: immich_redis
    image: docker.io/valkey/valkey:9@sha256:546304417feac0874c3dd576e0952c6bb8f06bb4093ea0c9ca303c73cf458f63
    healthcheck:
      test: redis-cli ping || exit 1
    restart: always

  database:
    container_name: immich_postgres
    image: ghcr.io/immich-app/postgres:14-vectorchord0.4.3-pgvectors0.2.0@sha256:bcf63357191b76a916ae5eb93464d65c07511da41e3bf7a8416db519b40b1c23
    environment:
      POSTGRES_PASSWORD: ${DB_PASSWORD}
      POSTGRES_USER: ${DB_USERNAME}
      POSTGRES_DB: ${DB_DATABASE_NAME}
      POSTGRES_INITDB_ARGS: '--data-checksums'
      # Uncomment the DB_STORAGE_TYPE: 'HDD' var if your database isn't stored on SSDs
      # DB_STORAGE_TYPE: 'HDD'
    volumes:
      # Do not edit the next line. If you want to change the database storage location on your system, edit the value of DB_DATA_LOCATION in the .env file
      - ${DB_DATA_LOCATION}:/var/lib/postgresql/data
    shm_size: 128mb
    restart: always
    healthcheck:
      disable: false

volumes:
  model-cache: